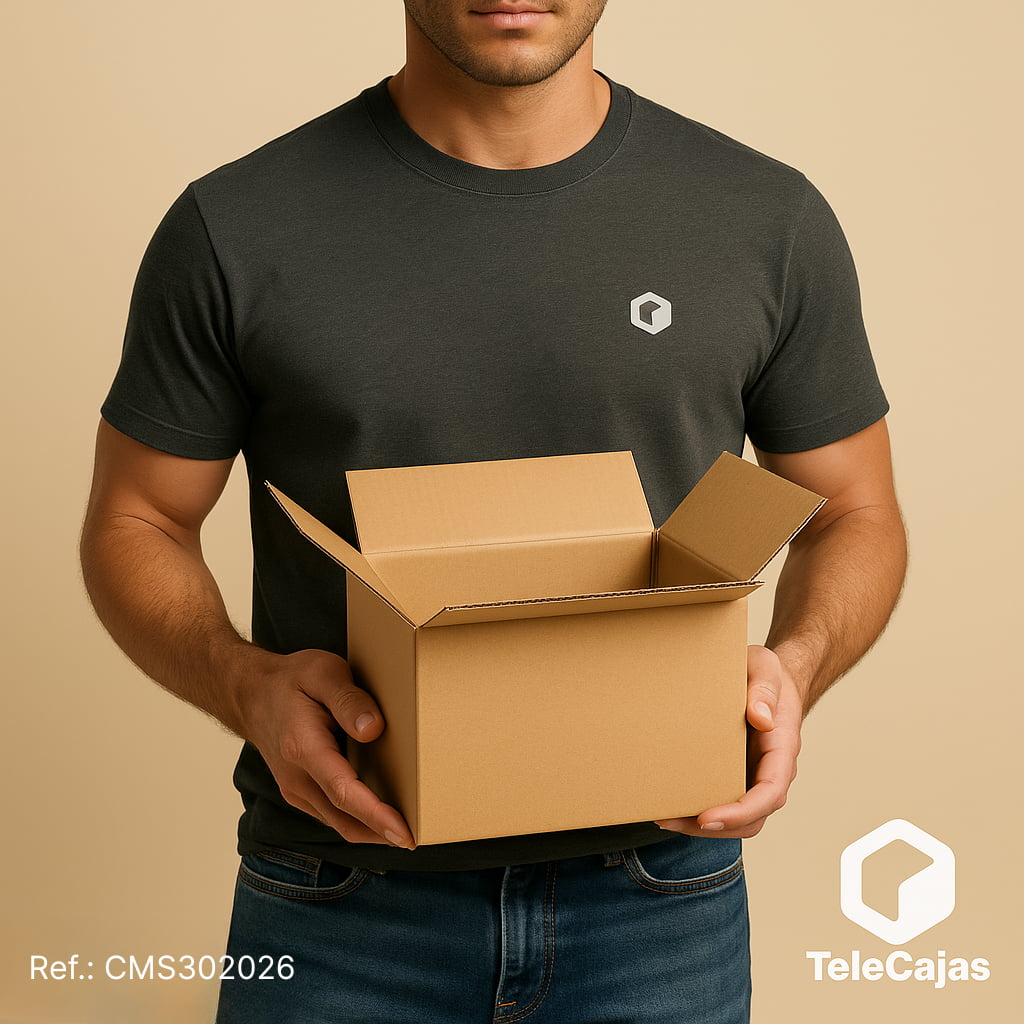
Can you imagine a square Halloween pumpkin, homemade with materials you already have lying around? Today we show you how to transform a cardboard box into a terrifying pumpkin in 8 simple steps. A perfect Halloween craft to do with kids, decorate your party, or surprise the neighbors on the night of frights.
At TeleCajas, we know that a good cardboard box has a thousand lives: moving, storage, packaging... and also decoration for the most terrifying party of the year. Grab some scissors, orange vinyl, and get ready to let your creative side shine.
Halloween pumpkin with a cardboard box in 8 steps (2026)
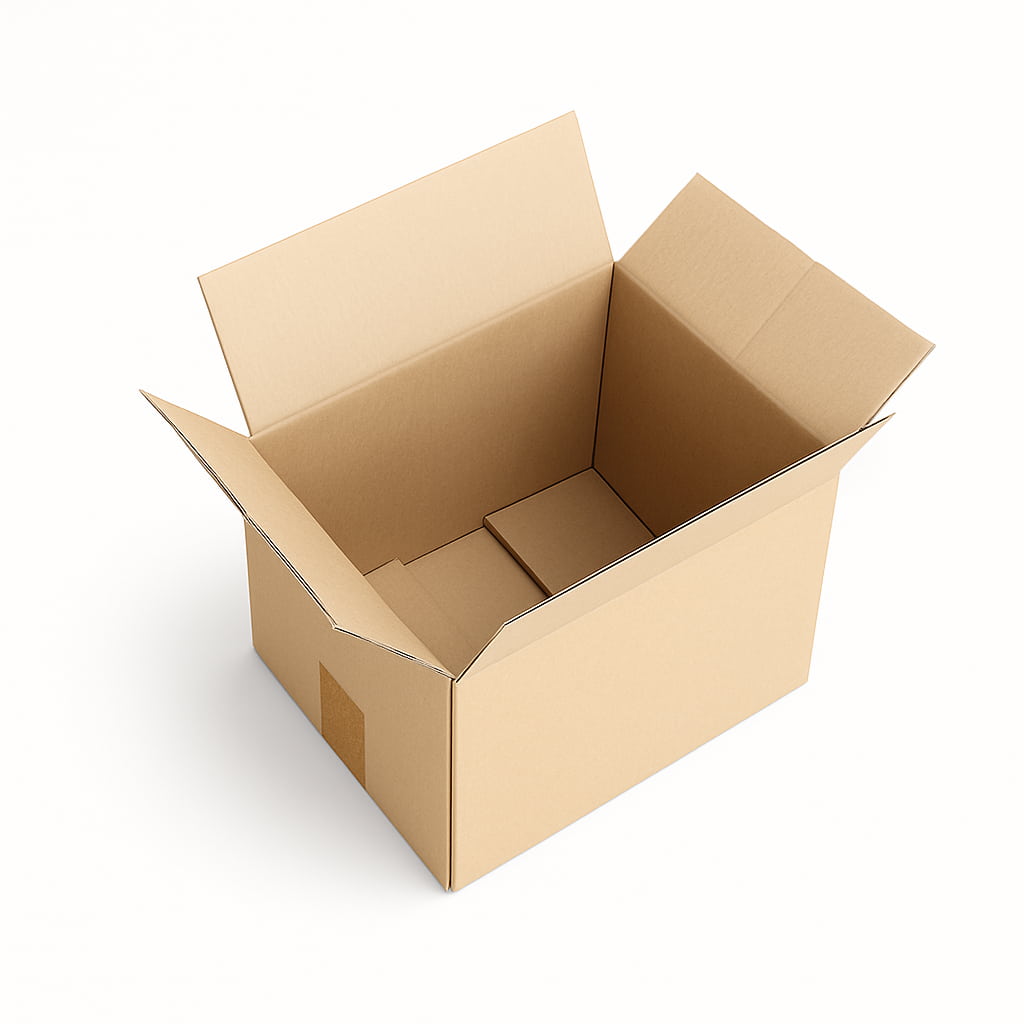
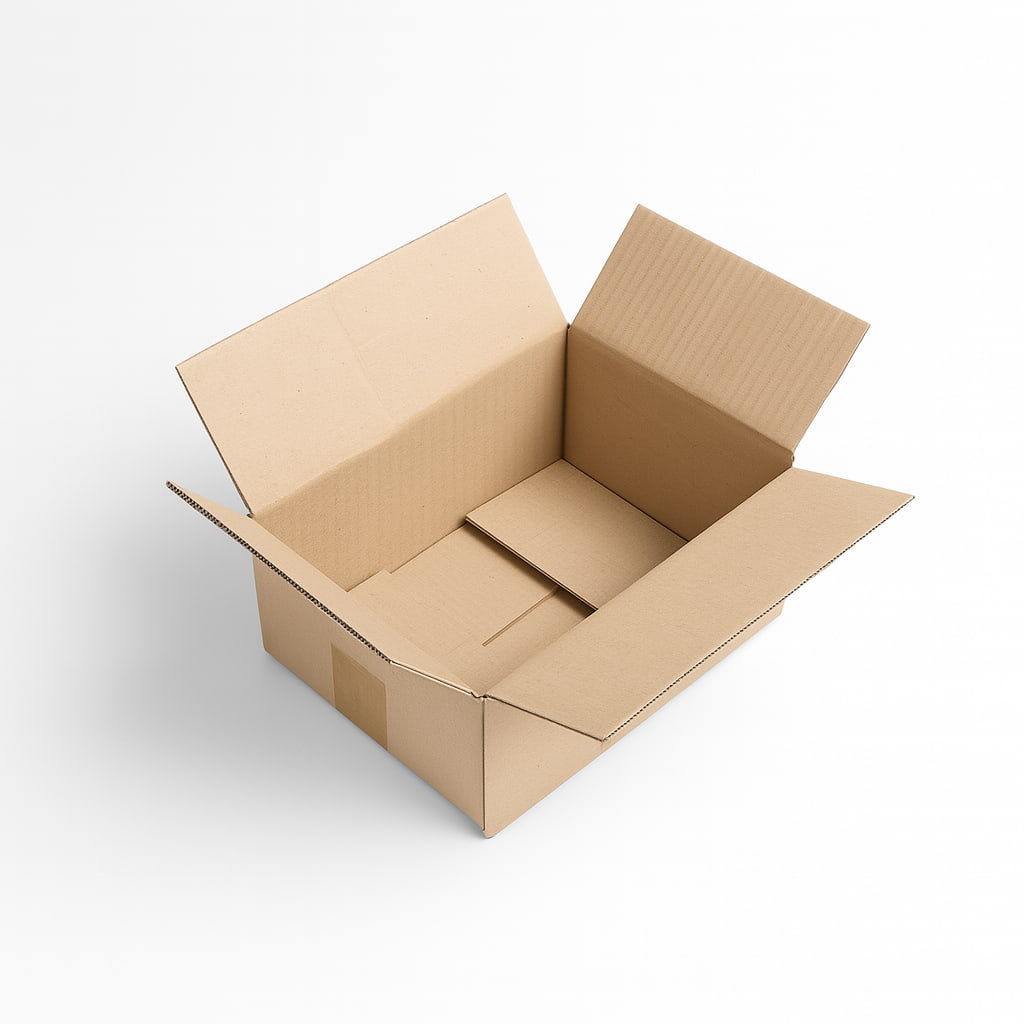
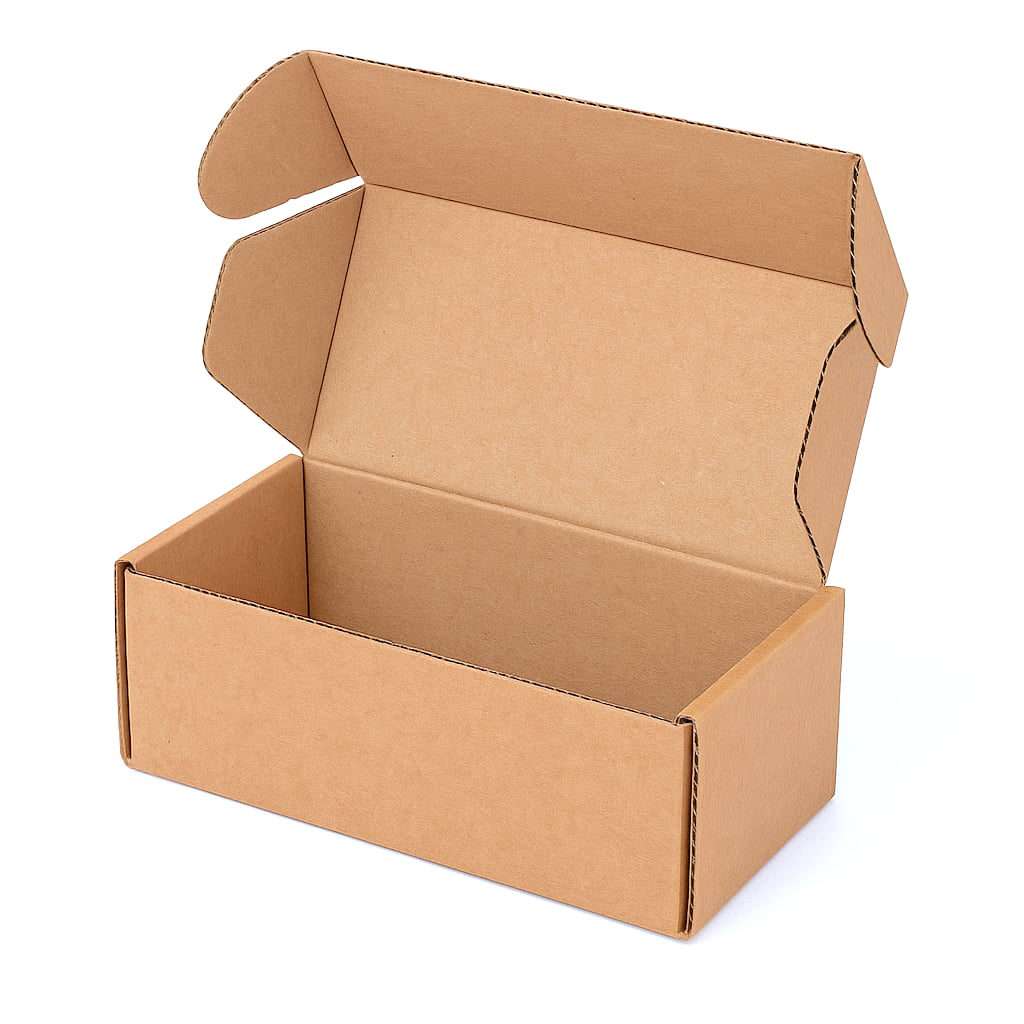
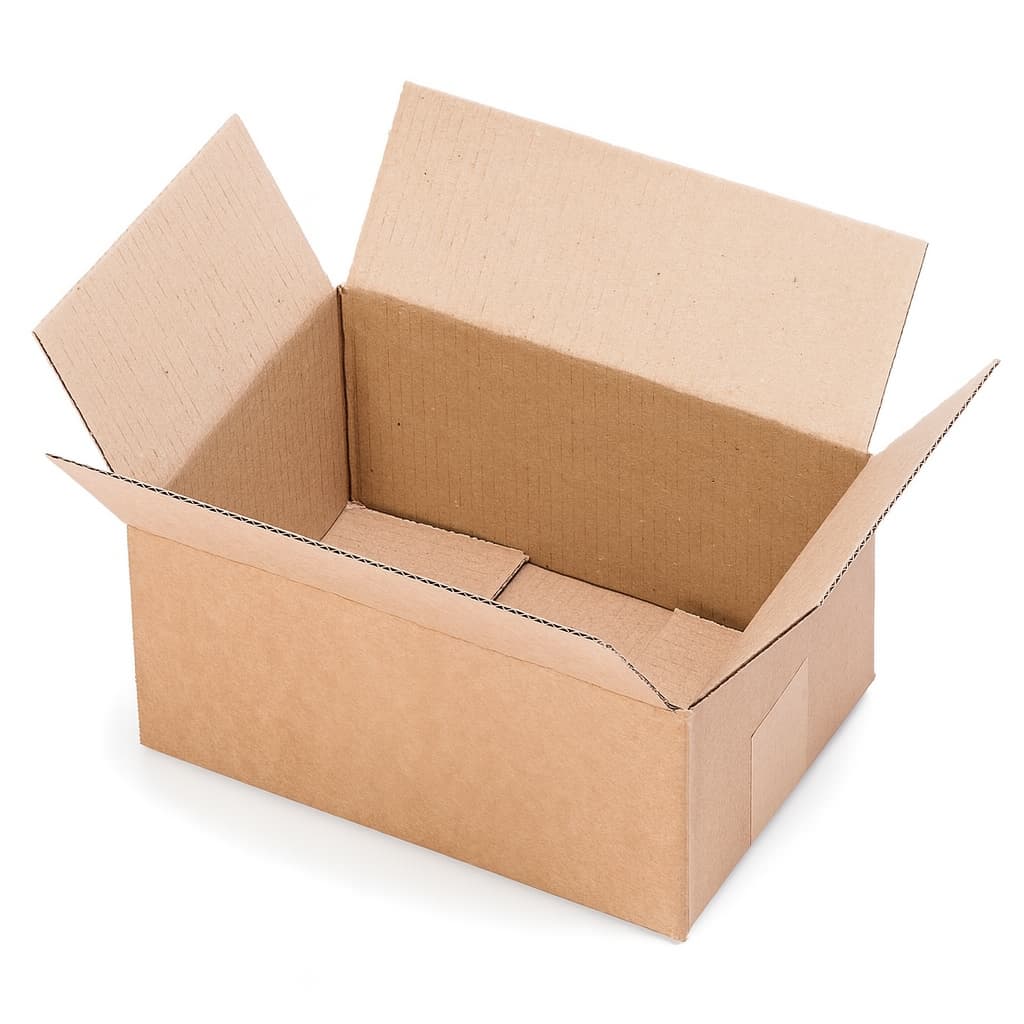
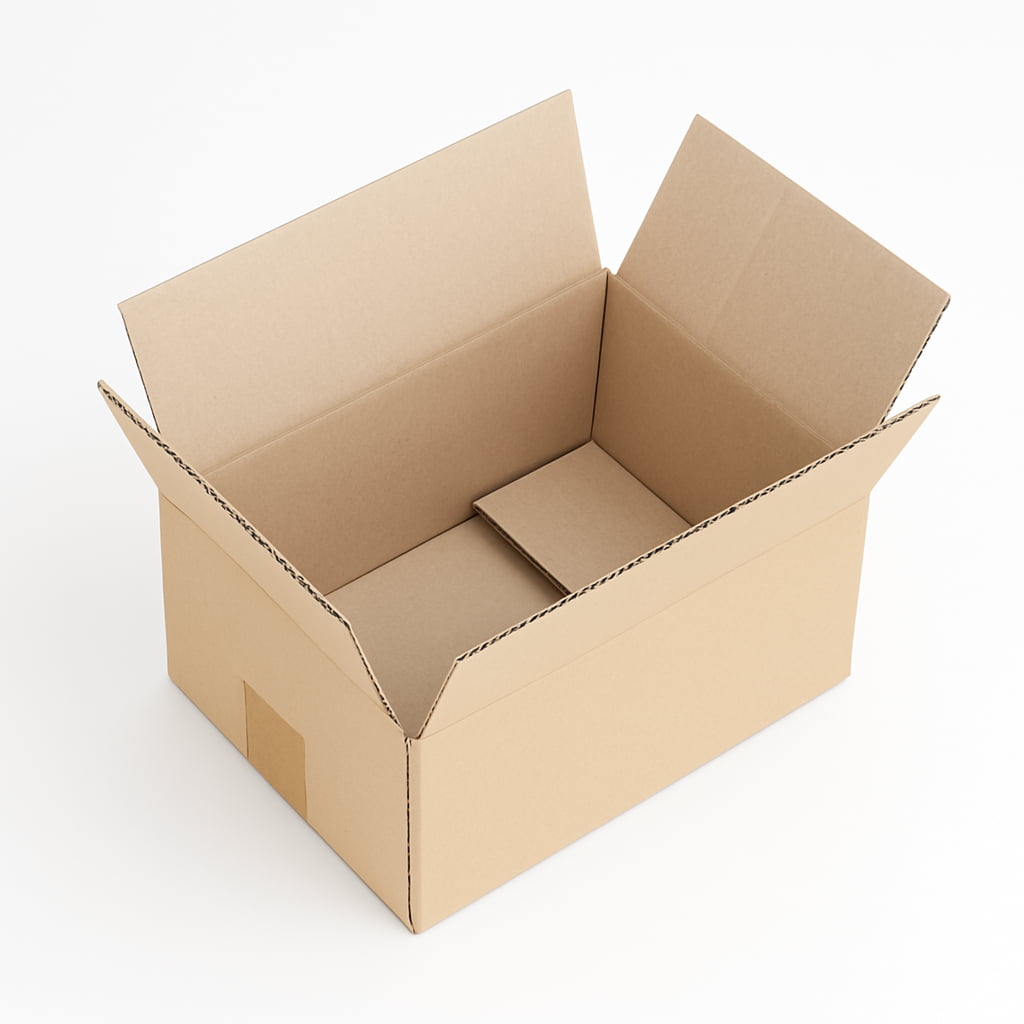
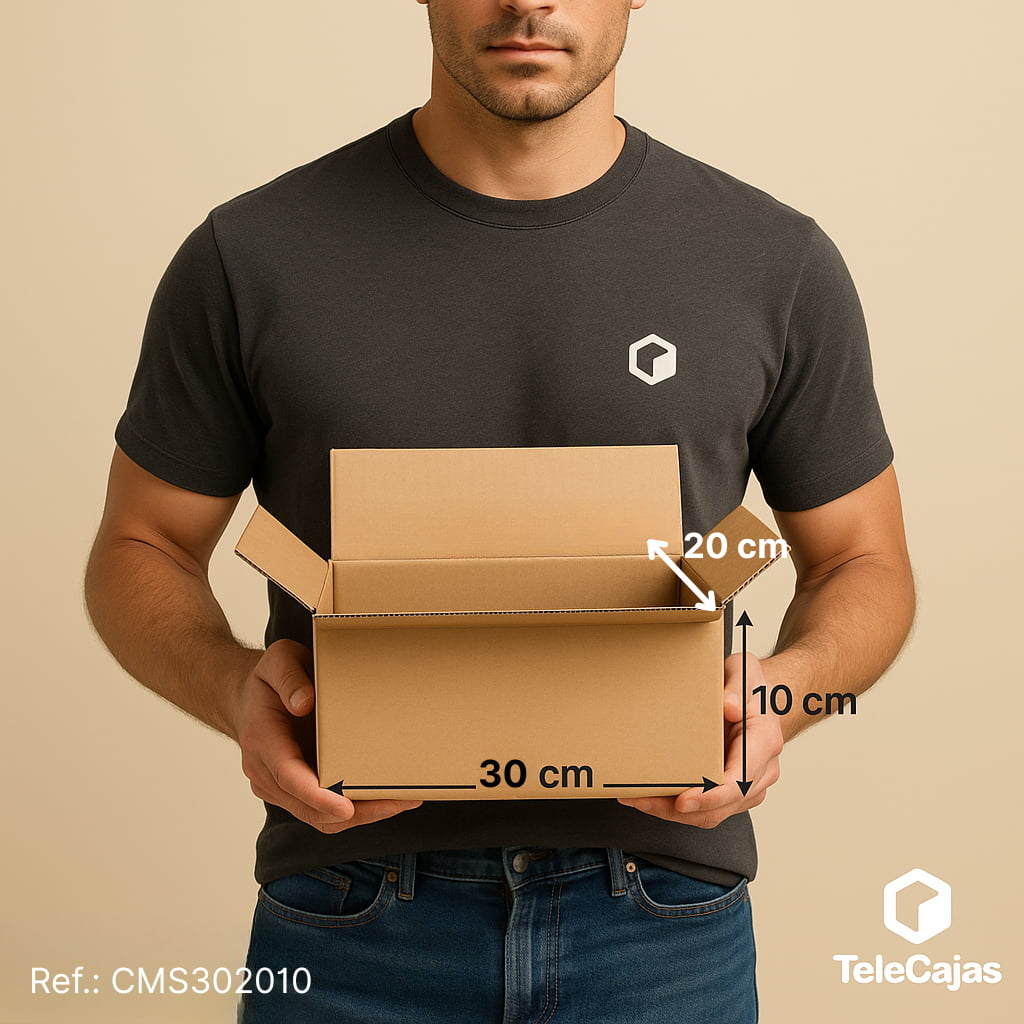
Materials: 1 cubic cardboard box, orange adhesive vinyl, scissors, utility knife, packing tape, green crepe paper, a marker, and an LED flashlight (optional).
- Assemble the box and seal it with packing tape.
- Cover it with orange vinyl, starting from the back.
- Cover the top lid with vinyl.
- Draw the eyes, nose, and mouth.
- Cut out the face with the utility knife (this, an adult).
- Open a rear hatch for the flashlight.
- Make the stem with green crepe paper.
- Decorate with bats, spiderwebs, or ghosts.
Want to make the face or decorations larger? Use kraft cardboard sheets for crafts: they are easy to cut and hold up well.
What do you need to make a Halloween pumpkin with a cardboard box?
Before you begin, gather these materials. You will find almost everything at any stationery or craft store:
- 1 cardboard box (a cubic or small moving box is ideal)
- Orange adhesive vinyl
- Scissors
- Utility knife
- Adhesive tape or packing tape
- Green crepe paper
- Marker or pencil
- LED flashlight (optional, for the glowing effect)
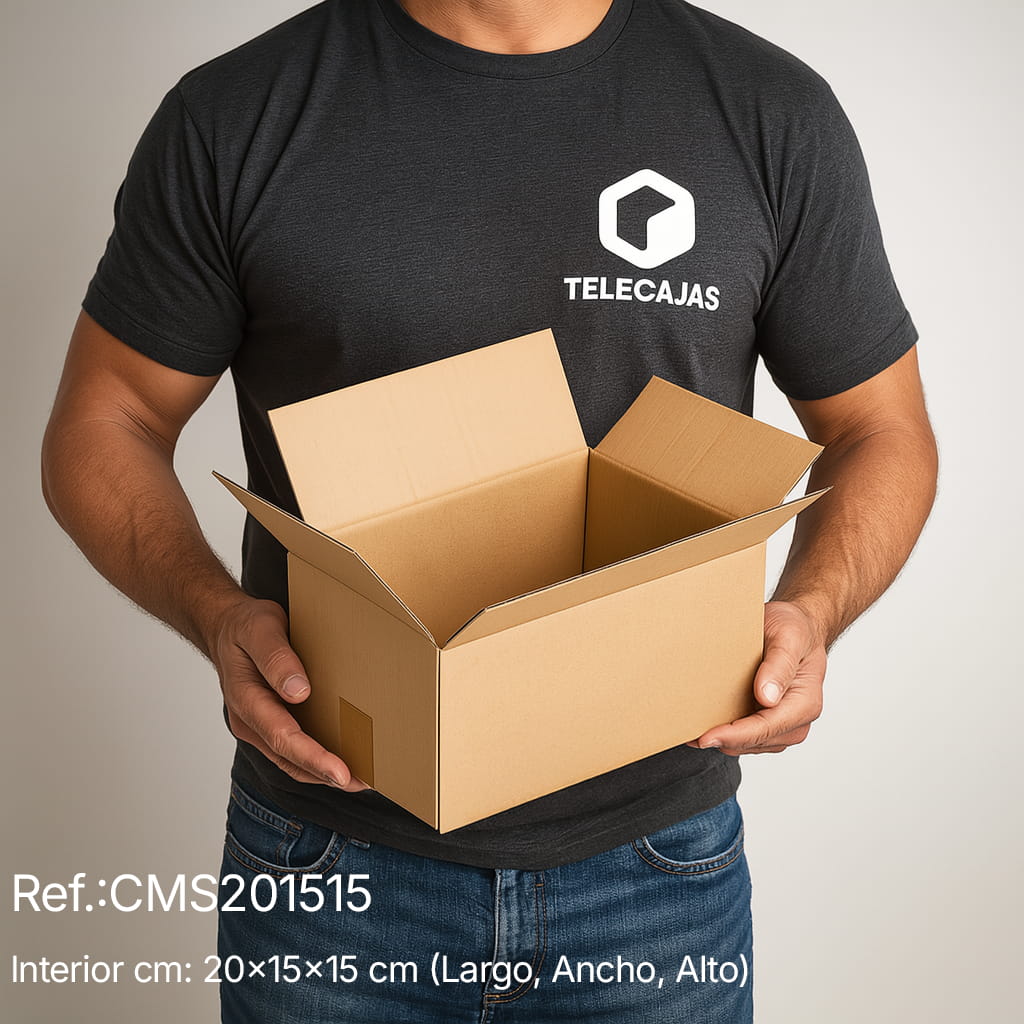
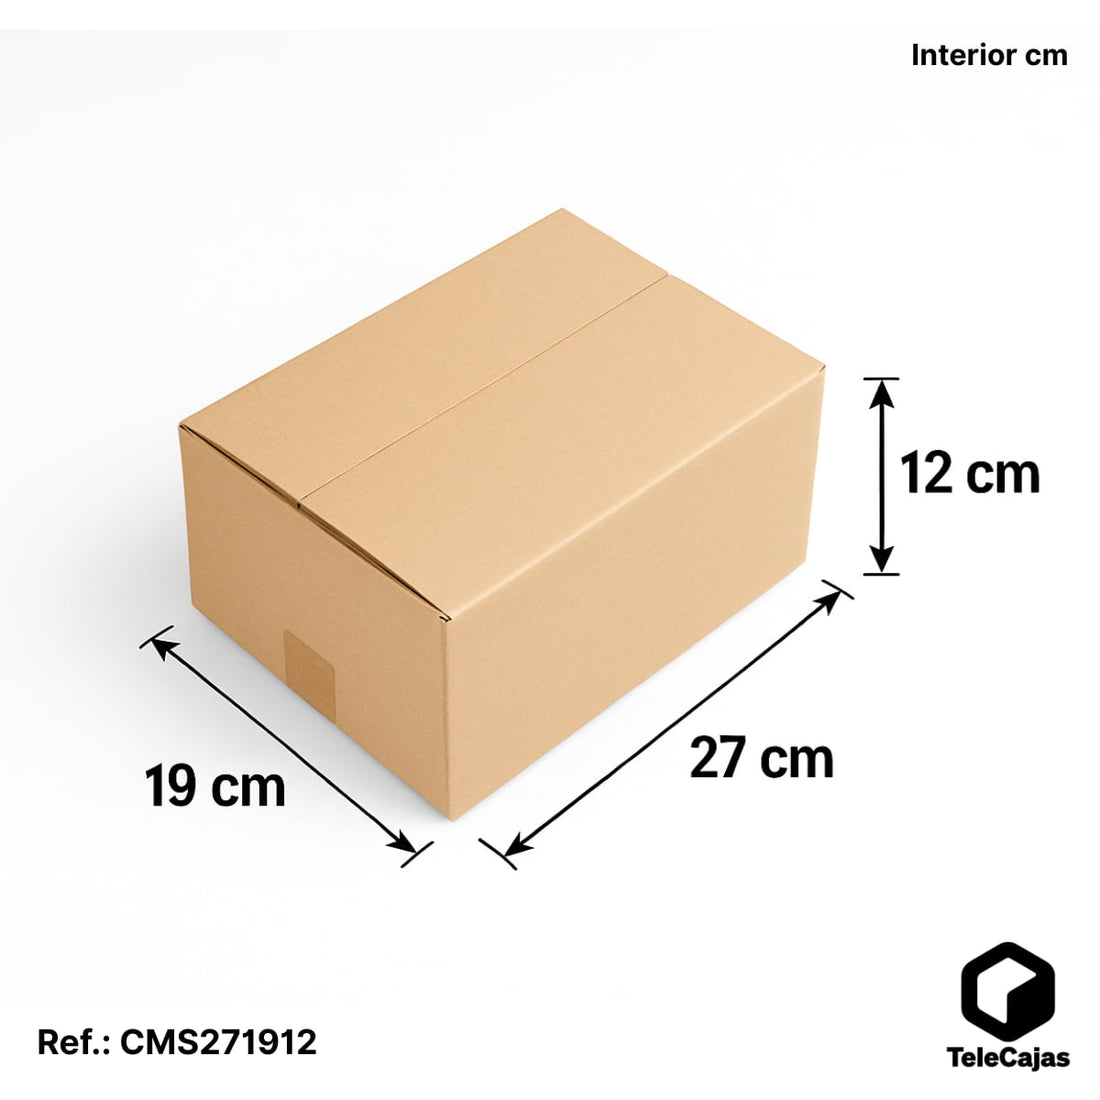
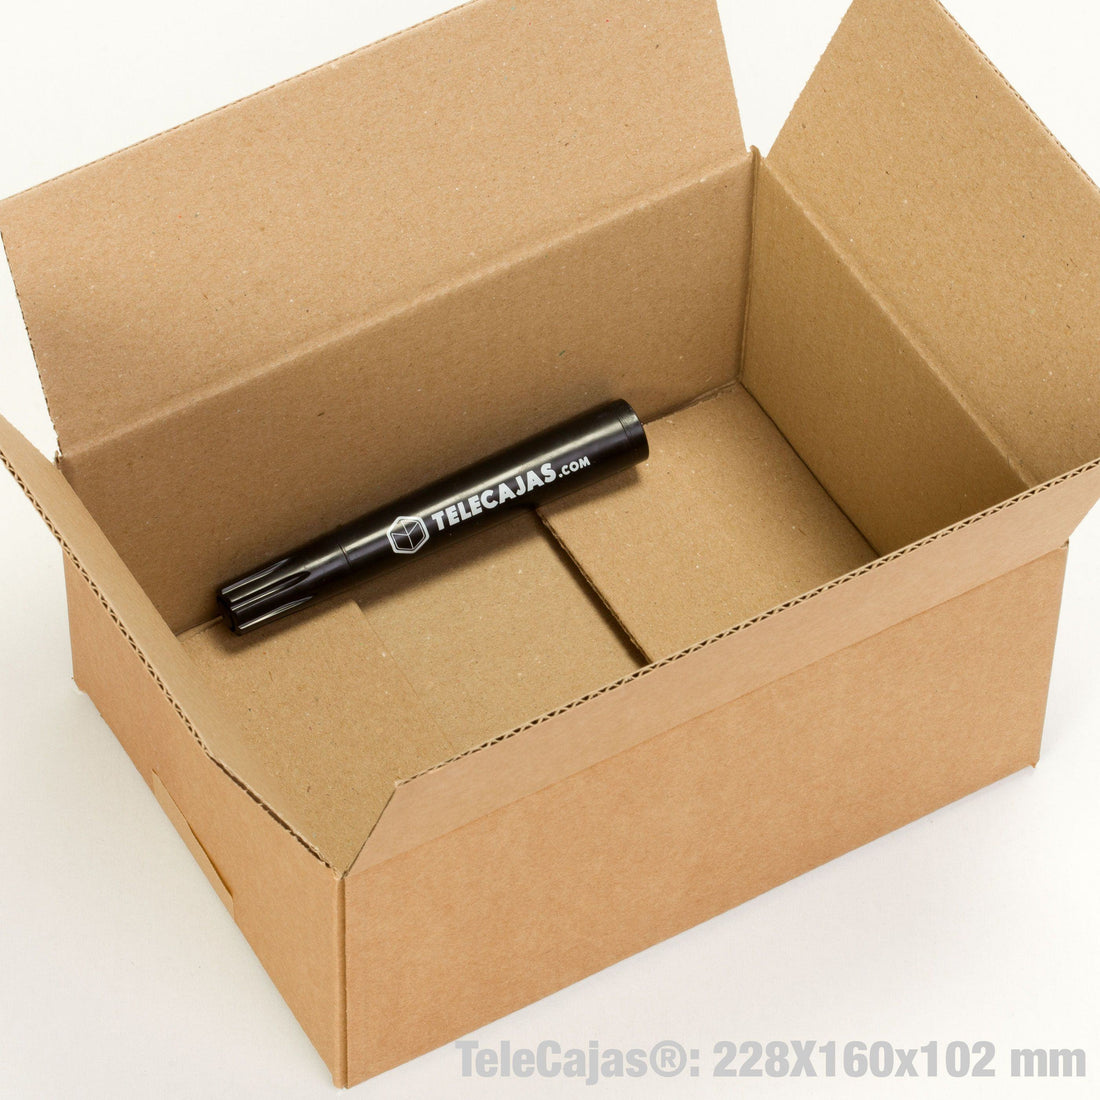
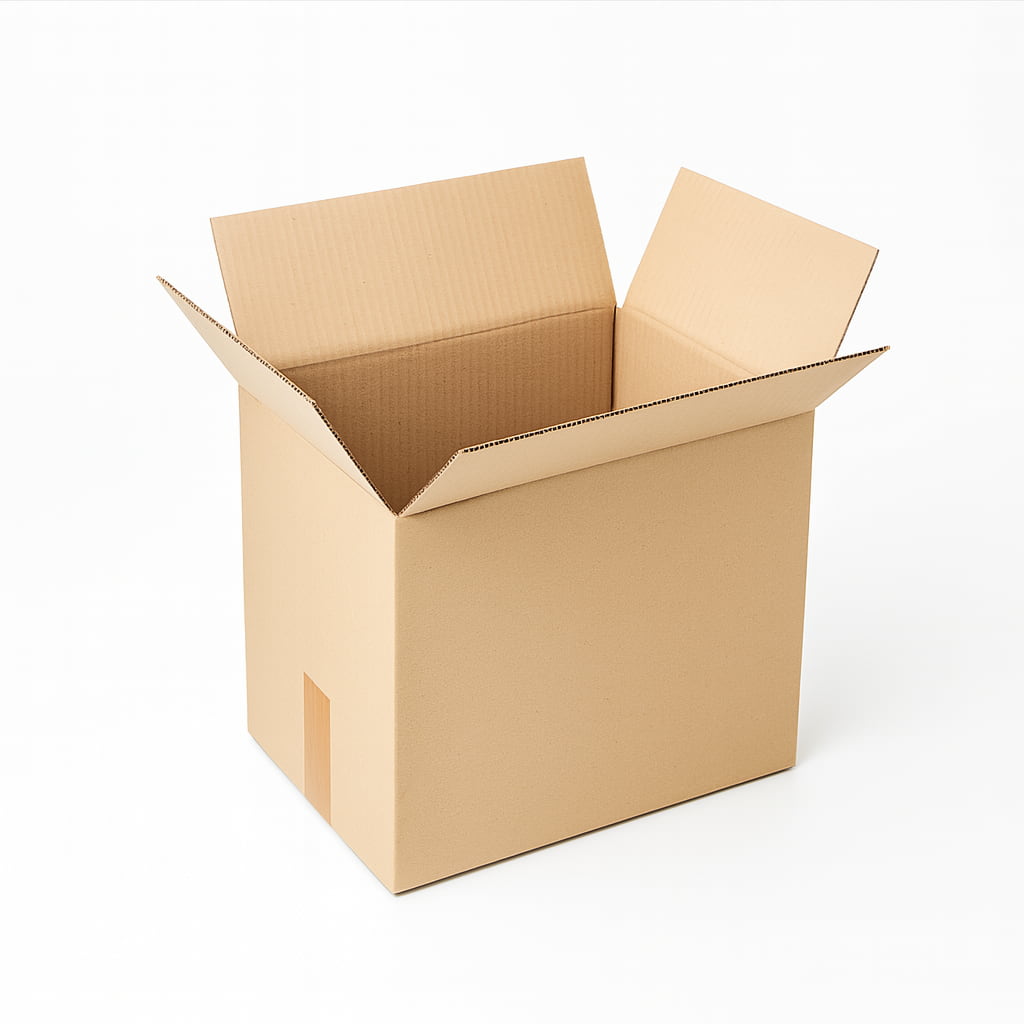
Tip: the squarer the box, the more original your "Cajalloween" will look. We used this 40x30x30 cm cardboard box, perfect for its size and sturdiness.
How to make a Halloween pumpkin with a cardboard box step by step
Step 1: Assemble the cardboard box
Assemble the cardboard box and seal it with packing tape. You don't need to use too much: one strip of tape closing the flaps on the top and bottom is enough to hold the structure together.

Step 2: Cover the box with orange vinyl
Start applying the orange vinyl from the back of the box. This way, any imperfections and cuts will be hidden. Keep the front as clean and uniform as possible: it will be the visible face of your terrifying pumpkin.

Step 3: Cover the top lid
When you finish the sides, cut the vinyl to fit the top lid and apply it. Smooth it out well with your hand to avoid bubbles.

Step 4: Draw the pumpkin's face
With a marker or pencil, sketch the eyes, nose, and mouth of your pumpkin. You can opt for the classic Jack-O'-Lantern face or invent an even more terrifying grimace.

Step 5: Cut out the face with a utility knife
Use the utility knife to cut along the outline of the eyes, nose, and mouth. Be very careful! If you do this craft with children, you should handle this part.

Step 6: Create a "door" for the flashlight
On the back, cut a hole the size of your flashlight. Using the same vinyl, create a hinge between the box and the cut-out cardboard: this way you can open and close the opening to insert the light and get the classic glowing-pumpkin-from-within effect.

Step 7: Make the stem with crepe paper
Cut a wide strip of green crepe paper, about a meter long. Fold it in two and shape it into a stem by twisting the center. Glue it to the top lid with a piece of vinyl or double-sided tape.

Step 8: Decorate to your liking
Personalize your pumpkin with terrifying motifs: bats, witches, ghosts, spiderwebs, or spiders. You can cut them out of black cardstock and glue them on, or paint them directly with a permanent marker.

Ideas to make the most of your cardboard pumpkin
- Family craft: If you've just moved, this pumpkin is perfect for recycling an empty box. More ideas in our post on crafts with boxes for children.
- Table centerpiece: place the lit pumpkin on your Halloween dinner table.
- Treasure hunt: use several cardboard pumpkins as clues hidden around the house.
- Terrifying entryway: line up two or three at the entrance to welcome visitors.
- Homemade photo booth: stack them with fake spiderwebs and get the perfect photo backdrop.
Frequently asked questions about this Halloween craft
What size cardboard box is best for making a pumpkin?
Any cubic or nearly square box works. For a balanced result, we recommend boxes between 30x30 cm and 40x40 cm. If you want it as a table decoration, a smaller box (20x20 cm) works perfectly.
Can I make it without adhesive vinyl?
Yes. You can paint the box directly with orange acrylic paint or cover it with tissue paper/glossy paper. Vinyl gives a cleaner and more resistant finish, but paint is a more economical alternative.
Is it a craft suitable for children?
Yes, it's ideal for afternoons with the family. Children can help by sticking on the vinyl, drawing the face, and decorating. The utility knife cutting part should always be done by an adult.
How do I light up the pumpkin safely?
Use LED flashlights, LED candles, or battery-operated string lights. Never use real candles: cardboard is highly flammable.
How long does it take to make?
Between 45 minutes and 1 hour if you have the materials ready. If you decorate with many details, add an extra 15-20 minutes.
Start your Halloween craft
A cardboard box and a little imagination are all you need to create the most original pumpkin at your party. And the best part: when Halloween is over, you can recycle the cardboard without guilt.
Do you need the perfect box for your craft? At TeleCajas we have cardboard boxes of all sizes, manufactured in Spain and sent to your home in 24-48 hours.
Are you going to make it? Share your "Cajalloween" on Instagram by tagging @telecajas and we will repost it. Happy Halloween!
More cardboard box crafts

You might be interested in
5 ideas with cardboard boxes to entertain children
Do you have boxes left over after moving or unpacking? A car, a play kitchen, and 3 more ideas for kids to play with while you get things done.
See ideas →Missing cardboard for more decorations? Get cardboard sheets for crafts and set up your Halloween photo booth.
Are you moving for real? Calculate how many boxes you need.